
Animating
When animating I had to analyse the movement of my references. I had acted out each sign in a manner that breaks the sign down to show viewers how it’s made. I also had to create an angle that best shows the movement of the sign from a closer perspective.

Materials
Because of the schedule, I animated every sign before I had time to properly texture the models it was this reason why we had to individually change the values of each colour in each 3DS Max file to be the same as my original ‘final scene’. We used an ‘architectural’ mode – choice fabric to create the t-shirt material and the skin was basic with added Specular (10) to shine off knuckles and such to emphasise movement, we also used a ‘double side’ colour mode for the face and ‘multi-sub’ for the eyes.

Render
I rendered the scene out using scan line render and set up the cameras in a fashion that best shows the animated sign. I rendered it out at .mov format so it can be easily imported into after effects.

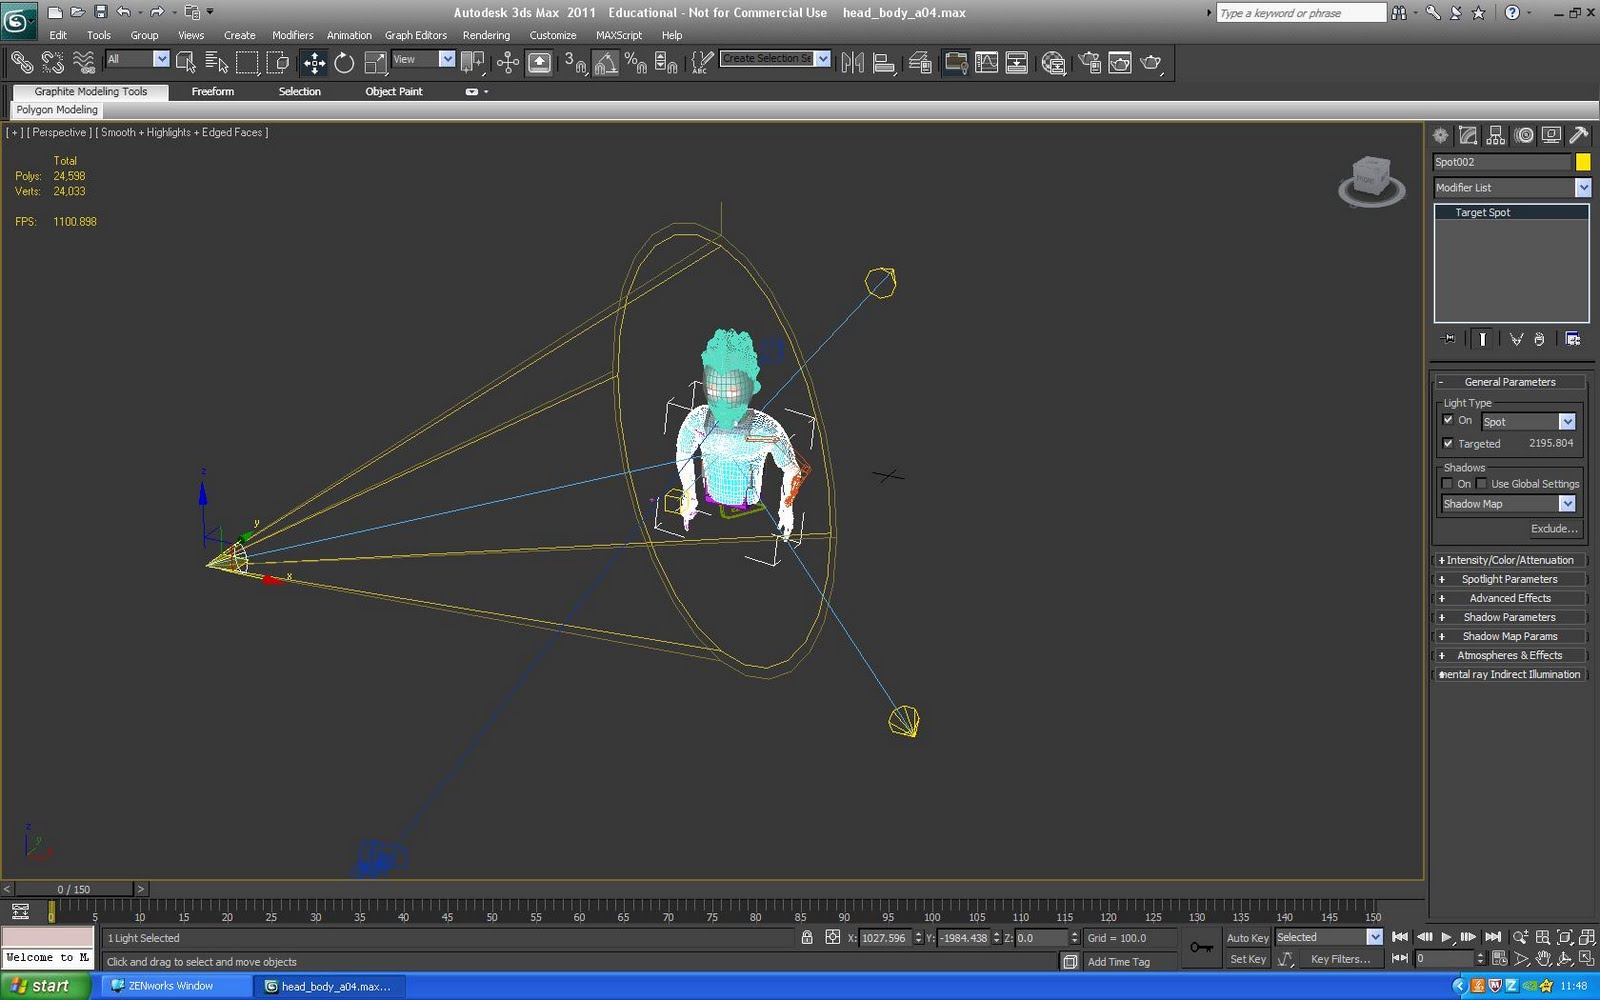
Lighting
I had to setup the lighting and decide to use the three point lighting system. This was because it makes the character look better and creates shadows. The back light was a direct light that creates a rim around the edge of the character. The two in front are at an angle; one is stronger than the other. This is because it creates a better shadow effect and doesn’t drown out the colour of the scene
No comments:
Post a Comment